In today’s digital age, privacy-conscious tech enthusiasts are seeking alternatives to cloud-based AI services. What if you could run a powerful, ChatGPT-like AI directly on your personal computer, completely free of charge? This comprehensive guide will walk you through setting up a local large language model (LLM) that gives you full control over your AI interactions. You can pick and choose any AI model such as Meta’s Llama, Google’s Gemma, and even the recently popular and controversial DeepSeek R1.
Why Run a Local AI Model?
The appeal of local AI models goes beyond just cost-saving. By running an AI on your own hardware, you:
- Protect your data privacy
- Avoid external data transmission
- Customize your AI experience
- Experiment with multiple AI models
- Reduce dependency on cloud services
Hardware Considerations for Local AI
While powerful AI models traditionally required top-tier hardware, modern solutions are more accessible. Here’s what you’ll need:
Minimum Requirements
- A Windows PC (Windows 10 or 11)
- Decent CPU
- At least 16GB RAM
Recommended Hardware
- Multi-core processor
- Dedicated GPU (helpful but not mandatory)
- 32GB RAM
- NPU-enabled processors like Intel Lunar Lake or AMD Ryzen AI
Pro Tip: Don’t worry if you don’t have a high-end machine. Many local AI models run surprisingly well on mid-range hardware.
Step-by-Step Local AI Setup
1. Prepare Your Windows Environment
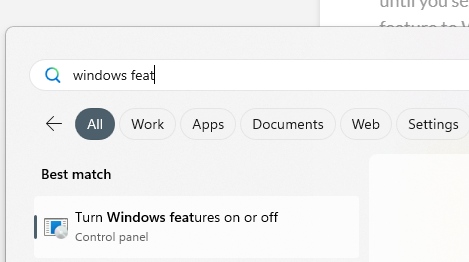
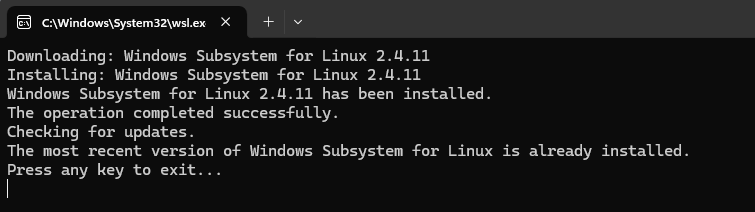
First, enable the Windows Subsystem for Linux 2 (WSL2).
Open Windows Features: press the Windows key and type “windows features” > select Turn Windows features on or off.
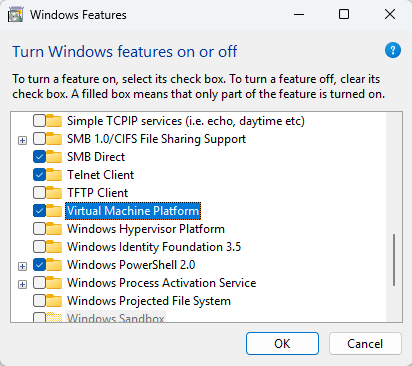
Scroll down through the list and check “Virtual Machine Platform”.
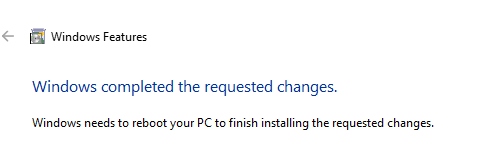
Restart your computer.
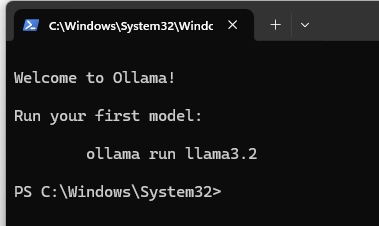
2. Install Ollama: Your Local AI Engine
Ollama is the cornerstone of this project, allowing you to run various AI models locally:
Visit ollama.com/download
Download the Windows installer.
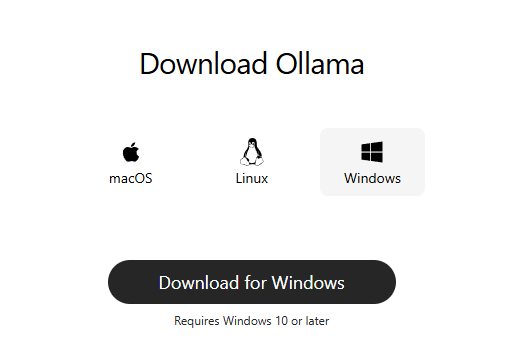
Run the setup.
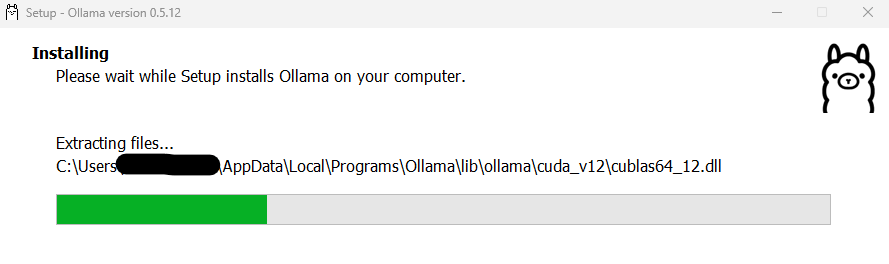
Complete the installation.
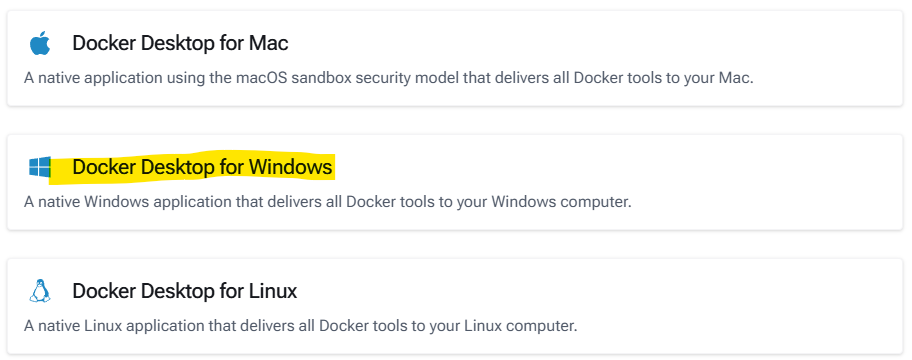
3. Set Up Docker Desktop
Docker will help us create a user-friendly interface:
Go to docs.docker.com/get-started
Download Docker Desktop for Windows.

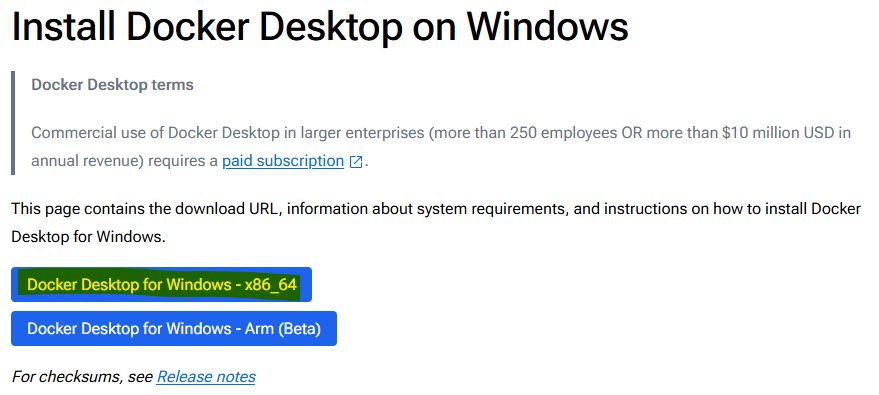
Install and restart your computer.
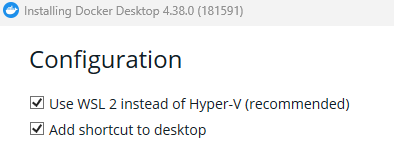
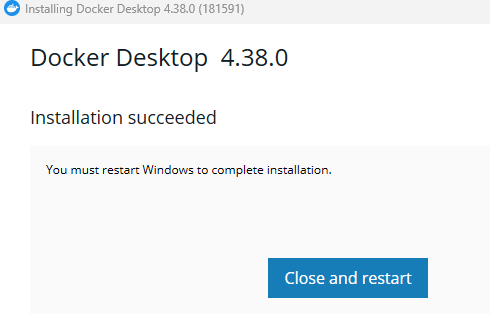
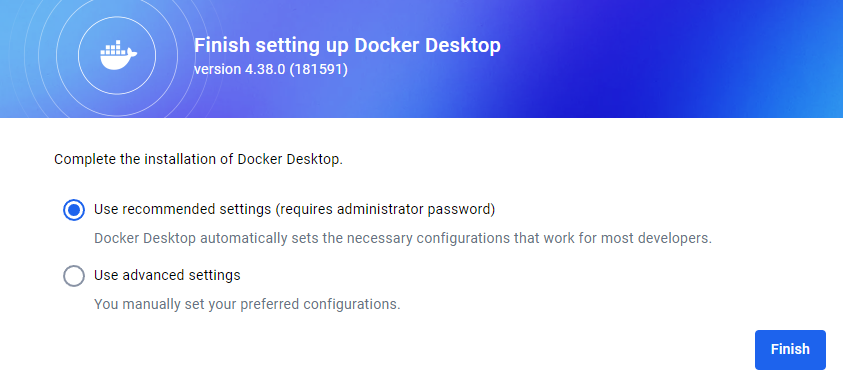
After restart complete the Docker setup wizard.

If you get this Error message is because you didn’t update the wsl service.
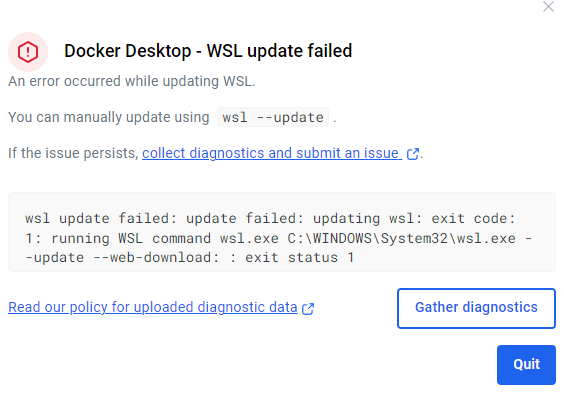
Windows will prompt you with this message. Update the WSL service.


Troubleshooting
After updating the WSL, in my case I got this new fancy error while trying to open the Container.
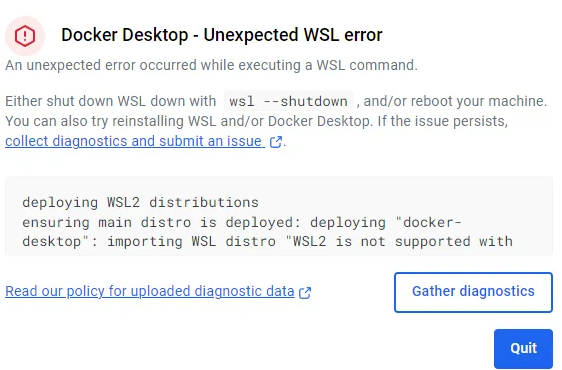
deploying WSL2 distributions
ensuring main distro is deployed: deploying "docker-desktop": importing WSL distro "WSL2 is not supported with your current machine configuration.\r\nPlease enable the \"Virtual Machine Platform\" optional component and ensure virtualization is enabled in the BIOS.\r\nEnable \"Virtual Machine Platform\" by running: wsl.exe --install --no-distribution\r\nFor information please visit https://aka.ms/enablevirtualization\r\nError code: Wsl/Service/RegisterDistro/CreateVm/HCS/HCS_E_HYPERV_NOT_INSTALLED\r\n" output="docker-desktop": exit code: 4294967295: running WSL command wsl.exe C:\WINDOWS\System32\wsl.exe --import docker-desktop <HOME>\AppData\Local\Docker\wsl\main C:\Program Files\Docker\Docker\resources\wsl\wsl-bootstrap.tar --version 2: WSL2 is not supported with your current machine configuration.
Please enable the "Virtual Machine Platform" optional component and ensure virtualization is enabled in the BIOS.
Enable "Virtual Machine Platform" by running: wsl.exe --install --no-distribution
For information please visit https://aka.ms/enablevirtualization
Error code: Wsl/Service/RegisterDistro/CreateVm/HCS/HCS_E_HYPERV_NOT_INSTALLED
: exit status 0xffffffff
checking if isocache exists: CreateFile \\wsl$\docker-desktop-data\isocache\: The network name cannot be found.
The error message “WSL2 is not supported with your current machine configuration” typically occurs due to missing or disabled system requirements for running WSL2. Below are the steps to troubleshoot and resolve the issue:
Check System Requirements
Ensure your system meets the minimum requirements for WSL2: Windows Version: For x64 systems, Windows 10 version 1903 with build 18362 or later; for ARM64 systems, version 2004 with build 19041 or later. Windows 11 is also supported13.
Hardware Virtualization: Your CPU must support virtualization (Intel VT-x or AMD-V)5. You can verify your Windows version by pressing Win + R, typing winver, and pressing Enter.
Enable Required Windows Features
Ensure the following features are enabled: Open “Control Panel” > “Programs and Features” > “Turn Windows features on or off.”
Enable:
- Virtual Machine Platform
- Windows Subsystem for Linux
- Hyper-V (if available)27.
Click OK, and restart your computer.
Enable Virtualization in BIOS
If virtualization is not enabled, follow these steps: Restart your computer and enter BIOS/UEFI settings (usually by pressing DEL, F2, or F10 during boot). Look for options like Intel VT-x, AMD-V, or Secure Virtual Machine (SVM) under Advanced > CPU Configuration. Enable these options, save changes, and reboot.
This trick fixed my issues.
Reinstall WSL
If the above steps do not resolve the issue > Uninstall WSL by running:
dism.exe /online /disable-feature /featurename:VirtualMachinePlatform /norestart
dism.exe /online /disable-feature /featurename:Microsoft-Windows-Subsystem-Linux /norestart
Restart your computer.
Reinstall WSL using:
wsl.exe --installOpen Docker Desktop
4. Install Open-WebUI: Your AI Interface
Open-WebUI transforms your local AI into a ChatGPT-like experience:
Navigate to docs.openwebui.com
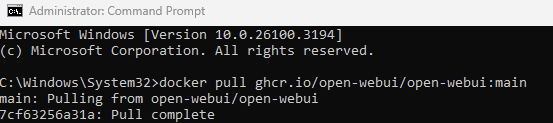
Follow the “Quick Start” guide. Use Docker commands to pull and run the container.
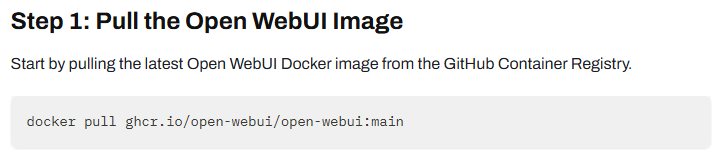
Open CMD and paste the command.
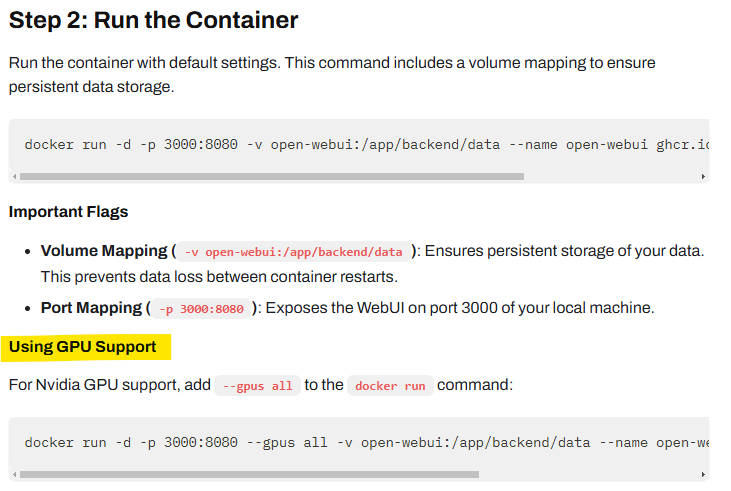
Because I have an Nvidia graphic card, I will use the second command.

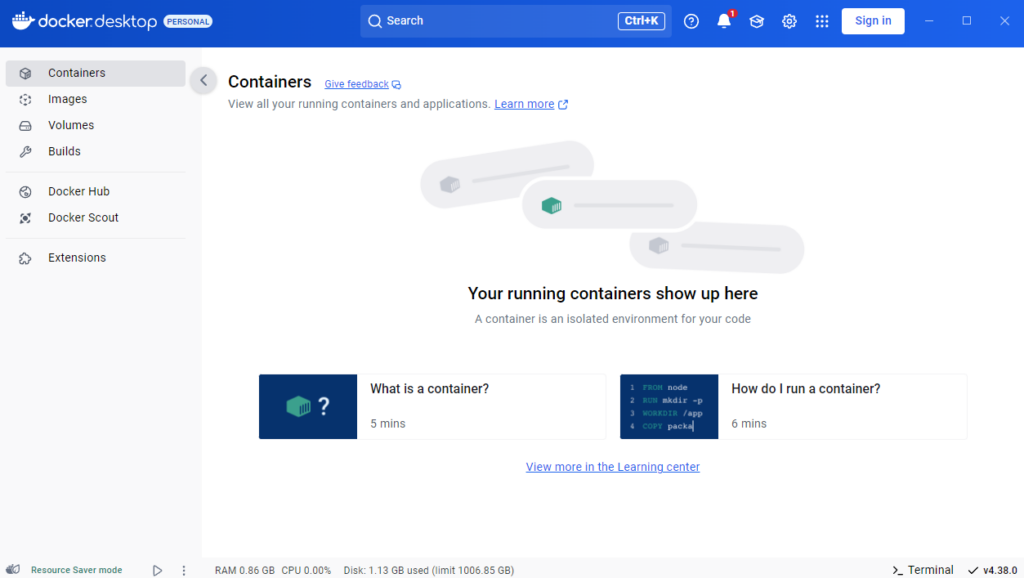
Go back to Docket Desktop to see the newly installed container.
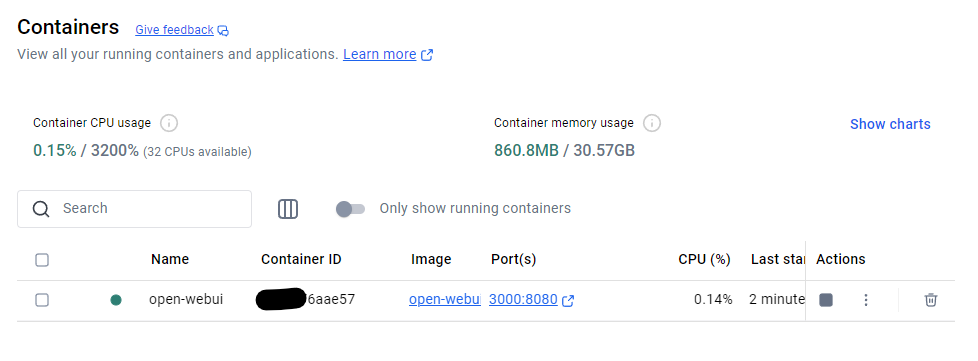
The container can be stopped if needed from the Action column. As you can see from the image above the container is running (green light).
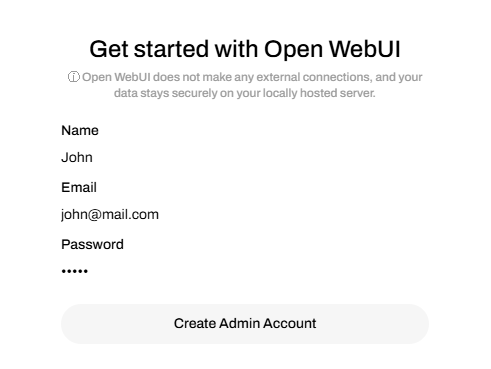
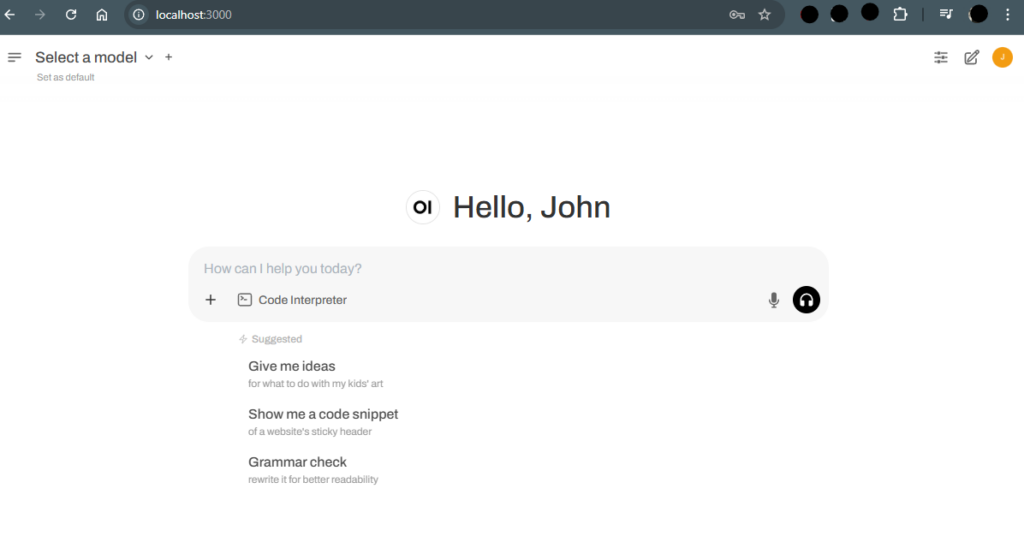
Navigate to the web application localhost:3000. Get Started > Create an admin account.
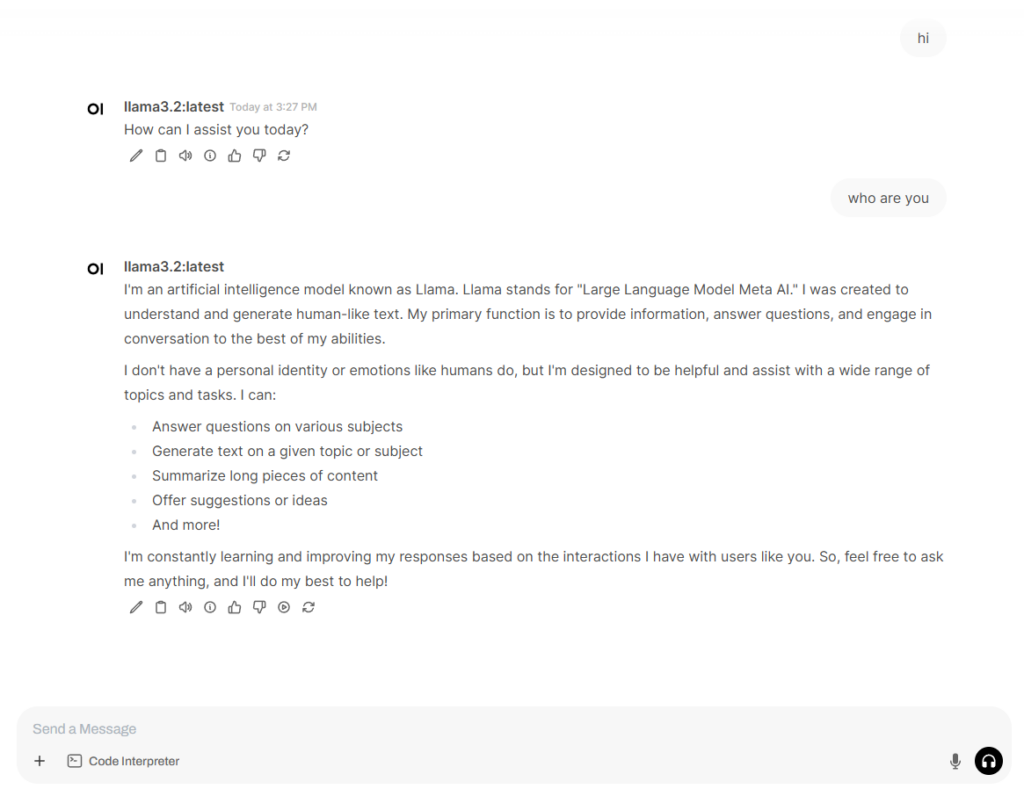
Almost there. Now, you have a very ChatGPT-looking interface dashboard.
5. Download Your First AI Model
Ollama offers a wide range of models:
Browse ollama.com/search. Consider starting with Llama 3.3 (3B variant). If you are considering running the DeepSeek model, please read this first.
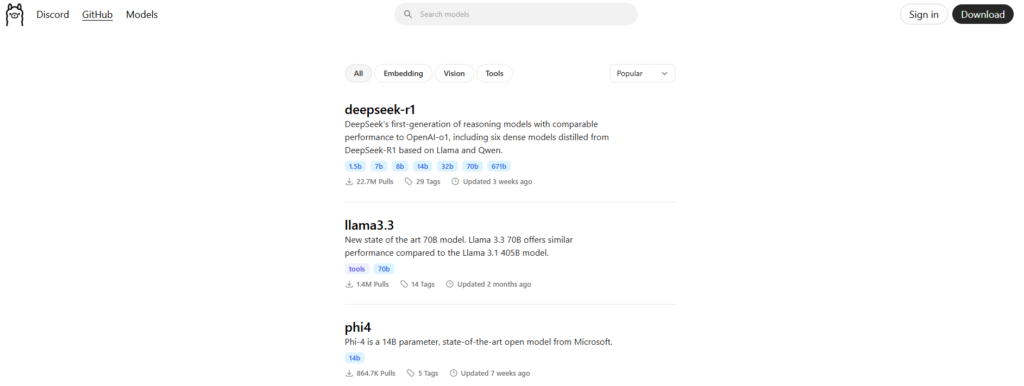
Models are sorted by popularity. The blue labels underneath the models are variations with more or less parameters. For Llama 3.2 we can see 1b and 3b. Click on that model and we can get even more detail.
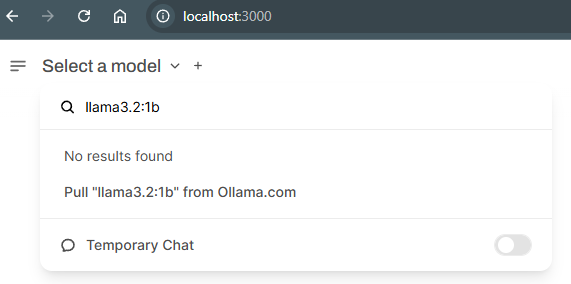
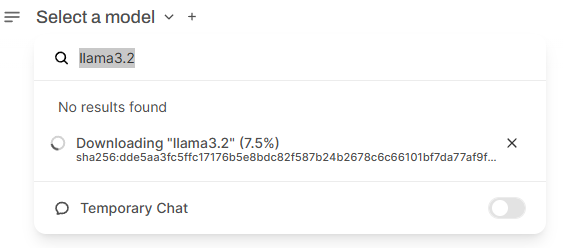
Download directly through Open-WebUI.
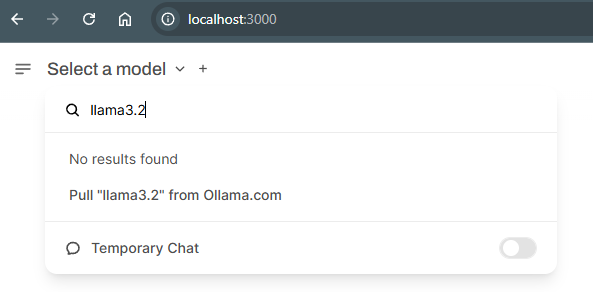
Select Pull and this command will bring the model Meta’s Llama 3.2 with 3B parameters (which is the default option). If you want to get the 1B parameter model, then search for llama3.2:1b
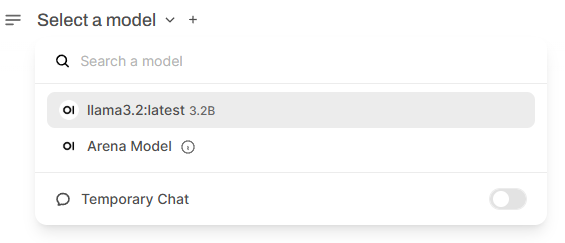
Awesome, now you can have some fun:
Pro Tips for Local AI Enthusiasts
- Start with smaller models to test performance
- Experiment with different AI models
- Monitor your system resources
- Consider models based on your specific use cases
Potential Challenges and Solutions
Storage Concerns
Some AI models can be massive (up to 20GB). Ensure you have sufficient storage space.
Performance Variations
Local AI performance depends on your hardware. Smaller models typically run smoother on less powerful machines.
Exploring Beyond the Basics
As you get comfortable, you can:
- Try multiple AI models simultaneously
- Customize model parameters
- Explore uncensored or specialized models
Conclusion
Running a local AI is no longer a complex technical challenge. With tools like Ollama and Open-WebUI, anyone can set up a private, powerful AI assistant in under an hour.
Final Thoughts
Privacy, customization, and control are at your fingertips. By following this guide, you’ve unlocked a new world of AI interaction – all from the comfort of your personal computer.
Disclaimer: Always download models and software from official sources, and be mindful of the legal and ethical considerations when using AI technologies.